Monthly Archives: August 2014

Hummers

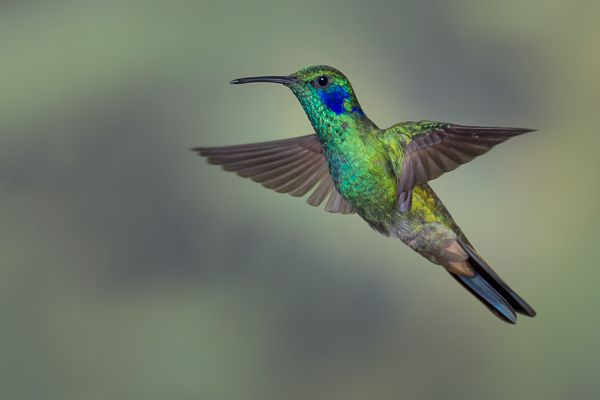
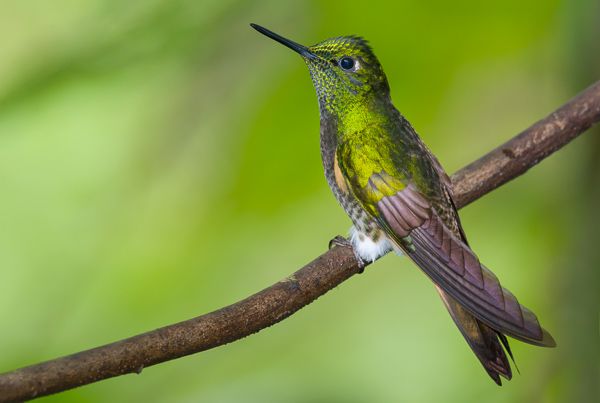
I couldn’t resist.  Earlier this year, while on my way to the Galapagos, I stayed over in mainland Ecuador for a few days to photograph hummingbirds.  Hummers have been worked a lot, but they are magnificent little birds, and, since I was in a location with many species, why not spend a few days photographing?  As I said, I couldn’t resist.  Here’s a short slideshow.

Buff-tailed coronet hummingbirds.Booted racket-tail hummingbirdPurple-throated woodstar hummingbird.Fawn-breasted brilliant hummingbird.Green violetear hummingbird.Rufous-tailed hummingbird.Violet-tailed sylph hummingbird.Buff-tailed coronet hummingbird.Rufous-tailed hummingbird.Rufous-tailed hummingbird.Buff-tailed coronet hummingbird.

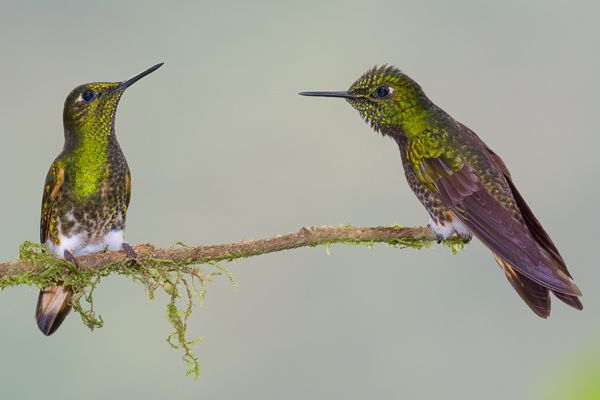
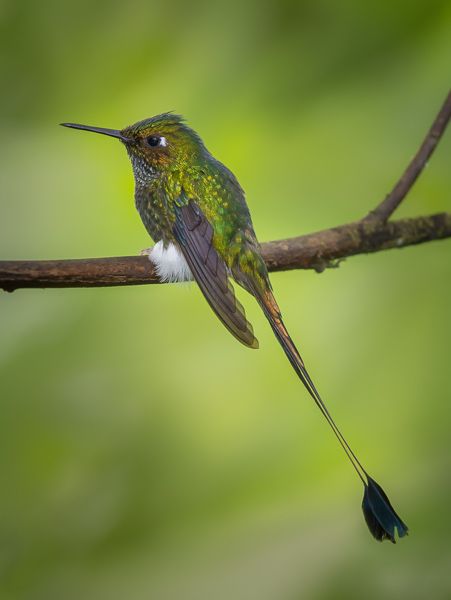
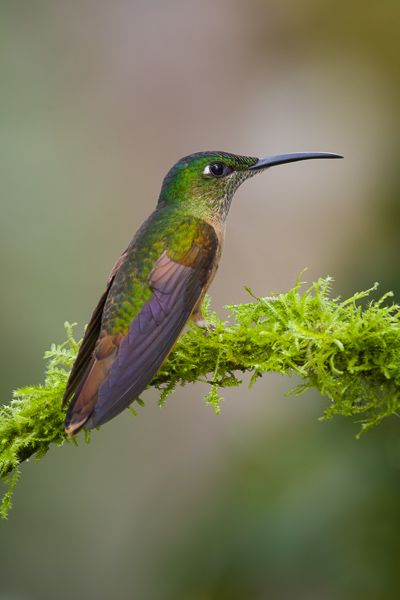
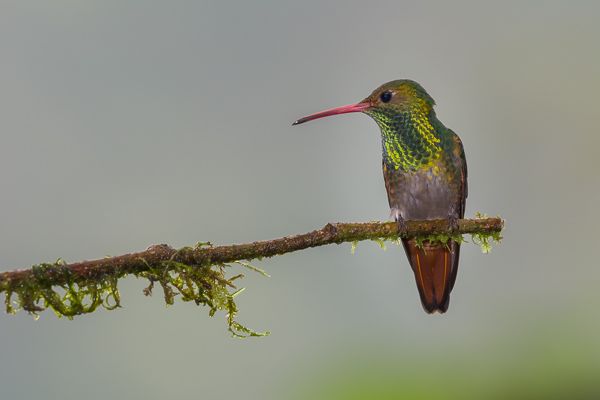
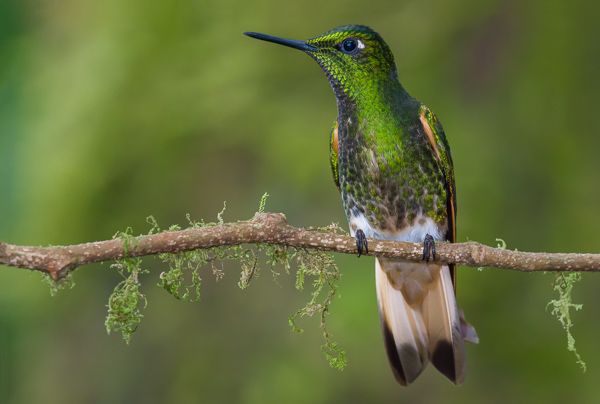
For hummingbirds on perches:  Nikon D800E in 1.2 crop mode, 500mm lens with an extension tube (for closer minimum focus), plus a bracket-mounted flash with Better Beamer flash extender attached, flash output between -1 and -2 fill.  Matrix metering, aperture priority (so shutter speeds were between 1/60 and 1/250 sec.), ISO 1000 (low light where I was photographing), f/11.

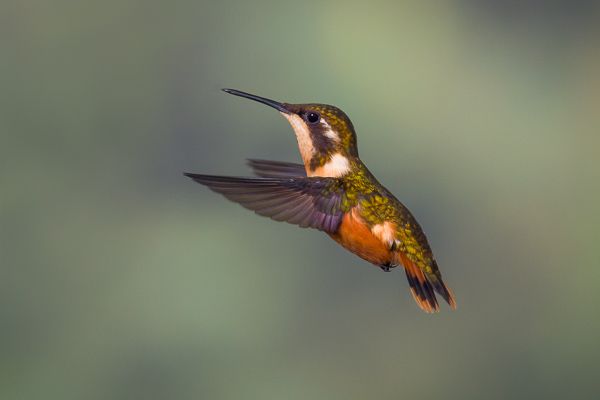
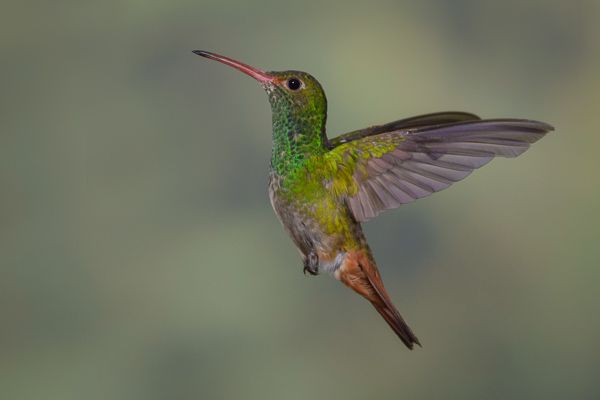
For hummingbirds in flight:  Nikon D4 with 80-400mm lens, manual exposure, ISO 400, 1/250 sec. at f/11.  In order to freeze the wing movement, I needed to light the entire scene (no fill flash here) using very short flash durations.  This is actually easy to get: set a regular flash on manual output at about 1/16 power and position the flash relatively close to the subject.  I used four flashes: one on-camera (set at an even lower power output), two on light stands aimed from either side toward where the birds would fly into a feeder, and one on another light stand and aimed at an artificial background (a print of out-of-focus vegetation).  To determine flash position, and consequently the f/stop to use, take a shot and take a look at the camera’s LCD.  The on-camera flash triggered all the other flash units; in other words, the flashes were simple slave units.  Since I was the only person working the area my flashes did not interfere with any other setup, otherwise I might have needed radio flash triggers which I don’t own.

I might note that most Nikon flashes can be set in an SU-4 mode, which allows them to act as basic optical slaves with any brand of camera.  Slave flashes certainly don’t need to be current models.  I have a Nikon SB-80DX (discontinued 10 years ago) which I picked up brand new in the box about a year ago for $25.

HDR (a different way)

I’m not a fan of HDR images.  Well, let me clarify that statement.  I’m not a fan of the all-too-typical HDR images I see.  Over-saturated cartoonish colors, with halos around edges, and lots of noise.  No thanks.

But there is a quick and easy way to create naturalistic looking extended dynamic range images, by using Photoshop’s HDR Pro to first create a 32-bit file, and then using the adjustments in either Camera Raw or Lightroom’s Develop module to work on that file.  To be honest, I thought many photographers already knew this trick, but on a recent Van Os Photo Safari which I was leading I discovered that very few of the participants seemed aware of it.  So…OK, here goes, step-by-step.

  • Shoot a series of images varying the exposure by one or two stops between shots, just as you would for any HDR composite.
  • In either Lightroom or Camera Raw make whatever basic adjustments are necessary.
  • Select all the images, and open all in HDR Pro.  From Lightroom: Photo > Edit In > Merge to HDR Pro in Photoshop.  From Bridge: Tools > Photoshop > Merge to HDR Pro.
  • In HDR Pro, check Remove ghosts, and select 32 Bit as the Mode.

  • And now you have a choice to make.  If you normally work in Camera Raw, check the box to Complete Toning in Adobe Camera Raw.  If you normally work in Lightroom, just click OK at the bottom of HDR Pro, and then save the file as a TIFF.  Make sure you save it as a 32-bit file.

  • If you’re going the Lightroom route, import this new file into Lightroom, and then open it in the Develop module.
  •  With either method,  process the file in Camera Raw or Lightroom as you normally do… but check out the range of the Exposure slider.  It’s now plus or minus 10 stops either way, double what it was before.  Wow!  That’s a 20 stop exposure range, definitely an extended dynamic range.